Planting and Caring for Your Tubestock Plants
So you've purchased some great little tubestock plants - now what? Here's some information to help you give your new plants a great start at their new home.
Unpacking your plants
Unpack your plants as soon as practical.
Take your plants out of the box and remove the packaging around the plants:
- Remove any tape and biodegradable bags. There may be tape over the holes at the bottom of the pot.
- If your plants are dry, give them a good soak.
- Place them in a shaded, protected position to allow them to get accustomed to the light again.
Storing your tubestock
Your plants can be left in their tubes for a few weeks, longer in the cooler months when they are not actively growing. Keep them in a protected area and regularly watered.
If your plants are outdoor plants, place the tubes in a bright area that gets some morning sun. Keep them away from the full afternoon heat, as this can dry them out very quickly and also heat up the roots too much. Do not keep them in full shade (unless they are shade plants) as they will not cope well with the transition to full sun when planted out.
Preparing your planting area
If planting outside, clear the area of weeds and prepare the soil. Loosen the top few inches of soil. If the soil is very compacted, dig in a little deeper. Mix in a generous amount of organic compost.
If your soil is heavy clay, it may be beneficial to initially add some gypsum (calcium sulphate). The benefits of gypsum will depend on your soil type, the more sodic, the more benefit to be gained. Dig down a couple of feet with a shovel and loosen up the soil. Add a few handfuls of gypsum (calcium sulphate) and mix in well. If the soil is very dry and hard, dig a hole, put some gypsum in the bottom of the hole and fill it with water. Once the water has soaked through, you can then loosen it up with a shovel. If your soil is very wet and sticky, break it up as much as possible and sprinkle a generous amount of gypsum on it and mix it in. Leave it for a day or so. If your soil is of the right type, you will notice a marked improvement in the structure of the soil.
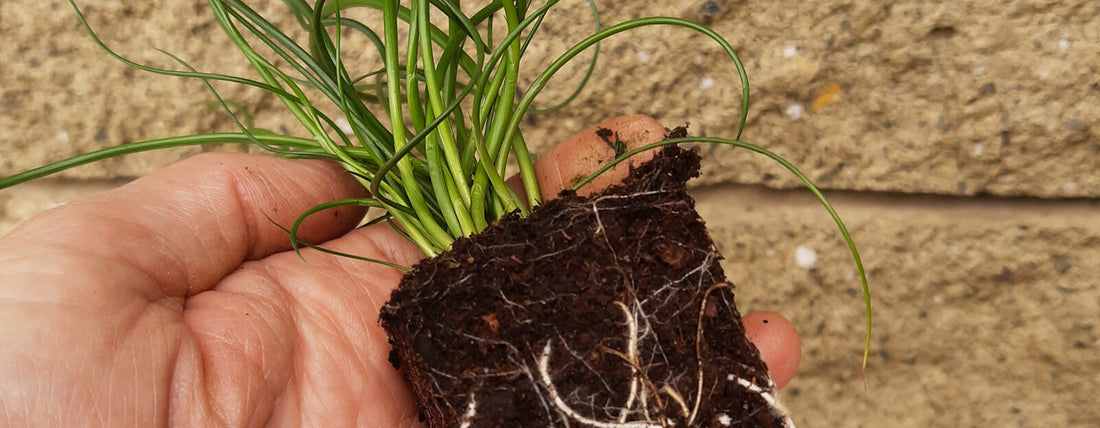
Removing the plants from the tube
Make sure the tubestock plants have been watered and are moist.
Start by gently squeezing the sides of the tube to loosen the roots from the pot.
Do not try to pull the plant out by the stem, as it may damage it. Put the stem of the plant between two fingers, covering the top of the pot. Turn the pot upside down and tap the end of the pot with your hand.
If the plant does not slide out, squeeze the sides and tap it again. If the plant is stubborn, try tapping the corner of the upside down pot on a hard surface. If all else fails, very gently try pulling it by the stem.


Planting
Tubestock plants are best planted in the warmer months and will quickly establish with a little care. Avoid newly planting just before or in the heat of summer and if possible try to plant a couple of months before frosts if in a frost prone area. The best times are early to mid-spring and late summer to mid-autumn.
Generally, there should not be any reason to disturb the roots. However, if the plant looks pot-bound, or the roots are tightly curled around themselves, you can gently loosen the ends and straighten out the roots slightly.
Dig the holes about two or three times the size of the pot. Place the plant in the centre of the hole, making sure that the base of the stem is at the same soil depth that it was in the pot. Hold the plant upright and back fill the soil in. If you wish to add fertilizer, this can be done at this stage. Alternatively, it can be added to the top of the soil, or over mulch. Keep the fertilizer away from direct contact with the stem or roots. Firm the soil down around the plant to remove any air pockets and stabilize the plant.
With a stick, or finger, draw a circle well about 10-15cm all around the plant. This will act as a well and help stop the water from running off initially when watering.
Water your plants deeply. We highly recommend using a seaweed tonic for the initial watering.
Ongoing care
Tubestock plants need a little more babying at first, until they settle in. The results are well worth the effort.
Watering
Water the plant regularly for the first few weeks whenever the soil starts to dry out. Water thoroughly as this will encourage deep, healthy root growth. Use a seaweed tonic every couple of weeks.
Fertilizing
If no fertilizer was used in planting, the plants can be fertilized in the spring and autumn growing periods if necessary.
Protecting your plants
Keep the area weed free. Weeds will quickly take over and smother new plants. Placing mulch around the plant may assist in keeping the weeds down. Mulch also provides nutrients to the soil as it breaks down; assisting with plant health as well as helping the soil retain moisture. When placing mulch, keep it some space away from the stem so as not to cause rot.
Plants that have long stems may benefit from some initial support, such as sticks or canes, especially if planted in a windy area.
If your plants are planted in a location that gets full sun, rig up some temporary shade until they have established a little. A mesh cover, which also doubles as pest control, is ideal. Alternatively, a couple of bamboo canes with a small amount of shade cloth attached and positioned to filter out the afternoon sun also works well. Even a well-placed rock or a large leaf stuck in the ground could provide some shade.
We don’t generally recommend using plastic tree guards unless you have a serious herbivore pest problem. There are better, more sustainable options, such as the mesh covers we mentioned earlier, which will also provide some shade. Plastic tree guards produce too much plastic waste and can often be detrimental to the plant, especially in the summer heat.
If you have any questions about your tubestock, or plants in general, please get in touch.
